


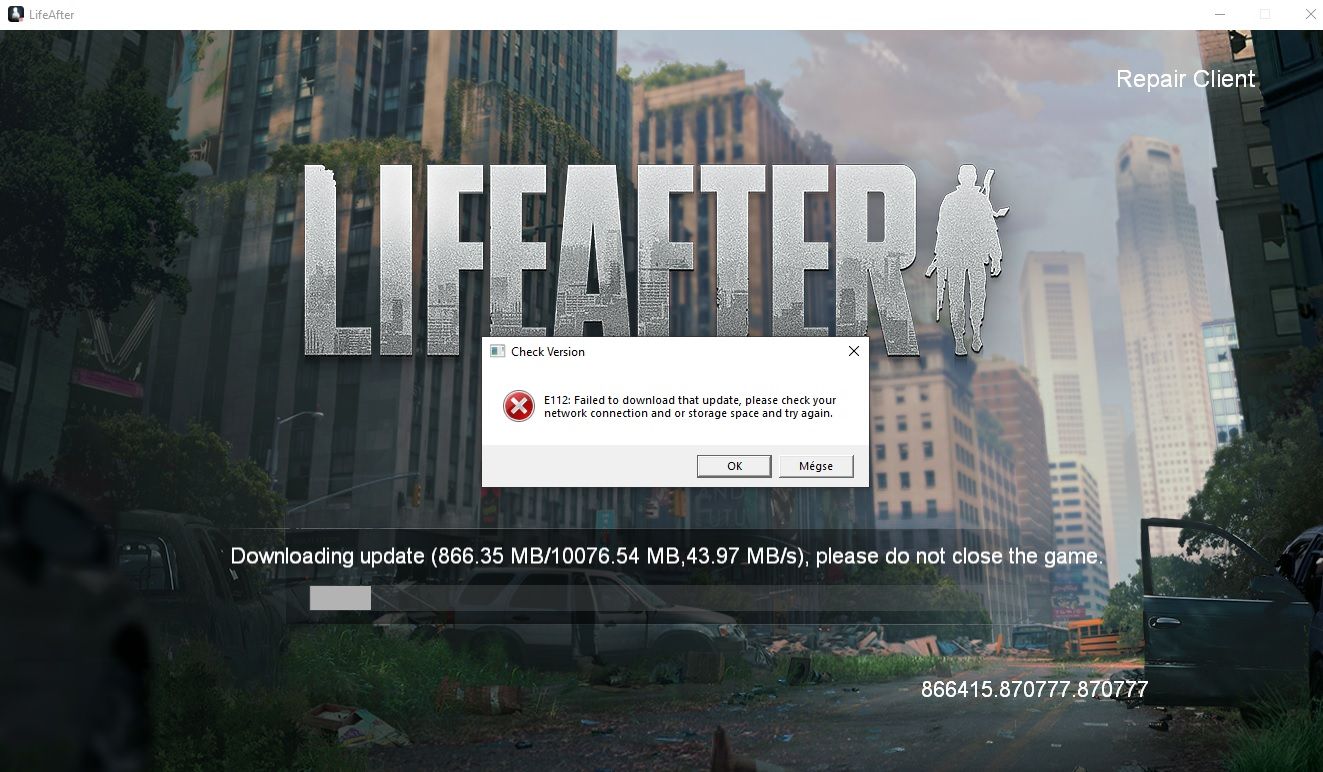
The "Failed to check version" error in LifeAfter occurs when the game client cannot establish an initial handshake with the patch manifest server, usually triggered by local DNS resolution failures, corrupted temporary cache files, or regional app store CDN propagation delays that can last up to 12 hours following an update (MY.GAMES Support). You can resolve the stall immediately without reinstalling by switching your device to public DNS addresses like Cloudflare or Google, clearing the application cache, and running PC launchers with administrator permissions.
What Causes the Version Check to Fail?
Before loading the character select screen or camp lobby, LifeAfter contacts NetEase's content delivery network (CDN) to verify whether local game files match the live server manifest. If that handshake drops, the client stops loading.
Three distinct bottlenecks trigger this failure:
- DNS lookup blackouts: Your local internet service provider (ISP) fails to resolve the remote patch server domain, leaving the launcher waiting on a dead address.
- Corrupted temporary cache: Previous interrupted patch downloads leave broken manifest fragments in local storage, preventing the client from writing new update data.
- Storefront propagation lag: Following an official patch deployment, localized nodes across regional app stores can take up to 12 hours to distribute mandatory installation packages (MY.GAMES Support). If the live game servers require a version your local storefront has not yet served, verification fails.
Clearing Local Cache Without Wiping Your Account
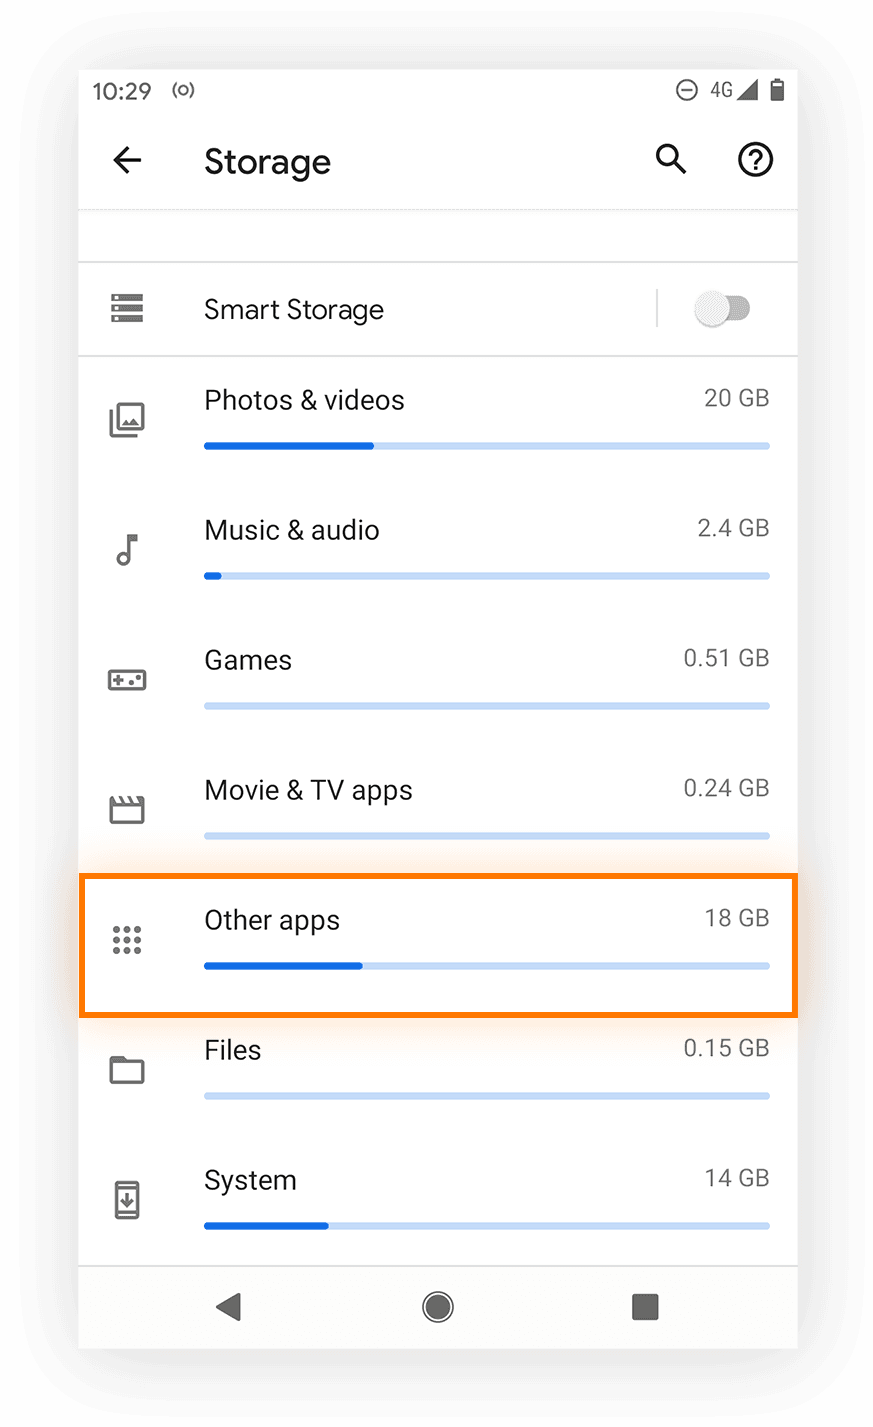
A corrupted cache often traps the game in an update loop. However, mobile players frequently make the mistake of wiping all game data, which forces a full redownload of assets and clears saved device configurations.
Clearing the app cache purges conflicting temporary files while preserving your player login details and saved progress (Eneba's technical guides).
To clear the cache safely on Android:
- Open your device Settings.
- Tap Apps (or Apps & Notifications) and select LifeAfter.
- Open Storage & cache.
- Tap Clear Cache.
Do not tap "Clear Storage" or "Clear Data" unless you are prepared to re-authenticate and re-download optional resource packs. Once the cache is empty, restart your phone and launch the game.
Reconfiguring DNS Servers on Mobile and PC
When your ISP's recursive DNS resolvers fail to route patch manifests, pointing your device toward public DNS providers restores connection to update servers (TP-Link Community).
The table below outlines the public DNS values supported across platforms:
| Configuration Type | Provider | Hostname / IP Address | Platform Application |
|---|---|---|---|
| Private DNS (TLS) | Cloudflare | 1dot1dot1dot1.cloudflare-dns.com | Android 9+ Settings (TP-Link) |
| Private DNS (TLS) | dns.google | Android 9+ Settings (TP-Link) | |
| IPv4 Primary / Alternate | 8.8.8.8 / 8.8.4.4 | Windows Adapter / iOS Wi-Fi (TP-Link) | |
| IPv4 Primary | Cloudflare | 1.1.1.1 | Windows Adapter / iOS Wi-Fi (TP-Link) |
Applying DNS on Android
Modern Android builds allow global encryption of DNS queries:
- Open Settings > Network & internet.
- Select Private DNS.
- Choose Private DNS provider hostname.
- Enter
1dot1dot1dot1.cloudflare-dns.comordns.googleand save.
Applying DNS on iOS
- Open Settings > Wi-Fi.
- Tap the info icon ("i") next to your active network.
- Scroll down and tap Configure DNS, then select Manual.
- Delete existing entries and add
1.1.1.1or8.8.8.8.
Network Hardware Reset and Windows DNS Flush
Routers retain local routing tables that can become stale after server-side maintenance. Purging those routes forces your network hardware to query fresh server IPs.
To cycle your local network hardware correctly:
- Unplug the router's power cord directly from the wall outlet.
- Wait a full 30 seconds to let the capacitors drain completely (TP-Link).
- Plug the power cable back in.
- Allow 60 to 90 seconds for the router to establish an external broadband connection before attempting to relaunch the game.
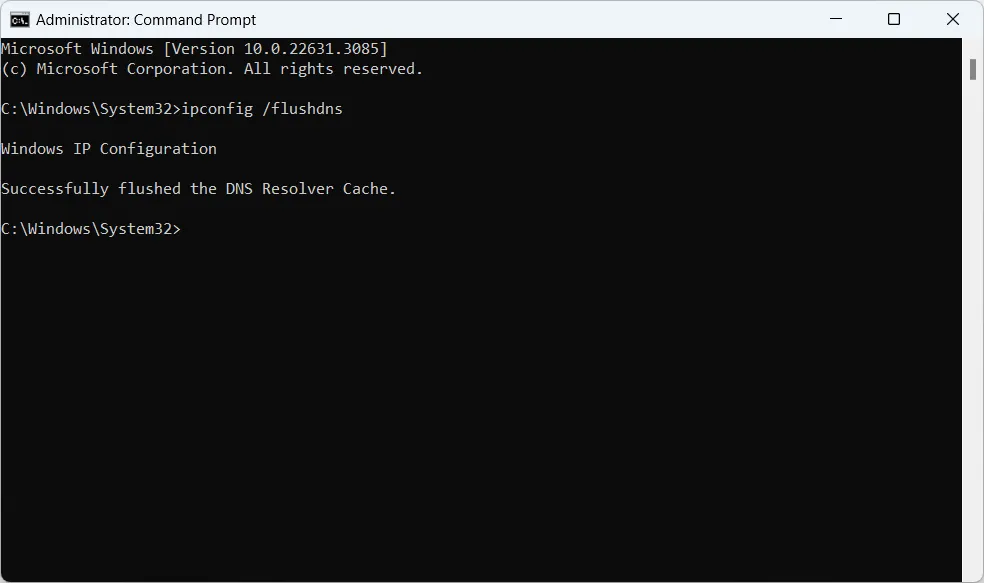
On a Windows PC, outdated resolver entries inside the operating system can cause identical stalls. You can clear them via the command line:
- Press the Windows Key and search for cmd.
- Right-click Command Prompt and select Run as administrator.
- Type
ipconfig /flushdnsand press Enter. - Close the terminal once you see the successful cache resolution message.
Resolving Launcher File Permissions on PC
If you play on the native PC client, the version check often fails because the launcher lacks permission to modify local files or replace index files in your installation directory. When Windows restricts read and write operations, the patcher enters a check loop or throws an immediate network failure.
Running the launcher with elevated administrative permissions grants full file system access, overriding local folder permission locks (Blizzard's technical support discussions).
To resolve this on Windows:
- Press Ctrl + Shift + Esc to open Task Manager.
- Locate any active LifeAfter or NetEase launcher background processes, right-click them, and choose End Task.
- Navigate to your LifeAfter installation folder or desktop shortcut.
- Right-click the executable launcher file and select Run as administrator.
Fixing Mobile Store Service Stalls
On mobile devices, an update loop can stem from the Google Play Store failing to broadcast the latest client build to the game.
Corrupted storefront cache data routinely causes download stalls and prevents new client manifests from appearing (Cashify's software repair guides). Clear the cached store data with these steps:
- Open Settings > Apps > Google Play Store.
- Tap Storage & cache, then select Clear cache.
- Return to the app list, select Google Play Services, open Storage & cache, and tap Clear cache.
- Reboot your phone, open the Play Store, and verify whether a fresh client update appears under your installed apps.
Using a VPN for Route Diversion
Upstream routing breakdowns between your ISP and NetEase's host infrastructure will not respond to local DNS changes alone. In this case, routing traffic through a virtual private network establishes an alternate path to the authentication server (The Escapist).
Enable a reputable VPN, set your location to an adjacent country or regional hub, and launch LifeAfter. Once the client verifies the version and downloads the required manifest data, you can disconnect the VPN and return to your primary connection to play with optimal ping.
Once the client completes verification and clears the splash screen, normal gameplay and server connectivity resume. Any subsequent in-game purchases requiring LifeAfter Credits will sync once the account successfully re-establishes contact with the live server.
Frequently Asked Questions
Will clearing the game cache delete my character or progress in LifeAfter?
No. Selecting "Clear Cache" only purges temporary update manifests and unindexed temporary files without altering your account credentials or saved cloud characters (Eneba). Do not choose "Clear Data" or "Clear Storage", as those actions erase local sign-in information.
How do I flush the DNS cache on Windows PC to fix version check connection errors?
Open the Windows Start menu, type cmd, right-click Command Prompt to run it as administrator, type ipconfig /flushdns, and press Enter before restarting your client (TP-Link).
What should I do if a newly announced patch cannot be found in the mobile app store?
Clear the cache for both Google Play Store and Google Play Services, then check your pending updates list. If the patch remains unavailable, regional storefront CDN propagation may require up to 12 hours before the installer arrives in your country (MY.GAMES Support, Cashify).